Bacon is undeniably a beloved breakfast staple, prized for its rich flavour and satisfying crunch. In recent years, the oven method for cooking bacon has grown in popularity, thanks to its simplicity and efficiency.
If you’ve been struggling to achieve perfectly crispy bacon every time, look no further! Not only does cooking bacon in the oven produce evenly cooked slices, but it also keeps your stovetop clean and your kitchen odour-free.
So, let’s dive into why you should embrace this method, explore its benefits, and guide you through the steps to bacon perfection.
Why Choose Oven Cooking for Bacon?
Benefits of Cooking Bacon in the Oven
- Even Cooking: Oven cooking allows heat to circulate freely around the bacon, ensuring each slice is cooked uniformly. No more worries about burnt edges and raw centres!
- Less Greasy Mess: Unlike traditional stovetop frying, cooking bacon in the oven minimizes grease splatter, making for an easier cleanup process.
- Batch Cooking: If you’re hosting a breakfast gathering or simply want to prepare bacon in advance, the oven method is ideal. You can cook a large quantity at once without much hassle.
What You Need to Cook Bacon in the Oven
Ingredients
- Types of Bacon: Choose between thick-cut, regular, or even alternatives like turkey bacon. Each type will impart its unique flavour and texture.
Equipment
- Baking sheet
- Parchment paper or aluminum foil
- Cooling rack (optional, but recommended for crispiness)
Step-by-Step Guide to Cooking Bacon in the Oven
Step 1: Preheat Your Oven
Start by preheating your oven to 400°F (200°C). This is the optimal temperature for achieving that perfect balance between crispiness and tenderness.
Step 2: Prepare Your Baking Sheet
For easy cleanup, line your baking sheet with parchment paper or aluminum foil. If you prefer extra crispiness, consider placing a cooling rack on top of the lined baking sheet. This allows the grease to drip away as the bacon cooks, resulting in a delightful crunch.
Step 3: Arrange Bacon Slices
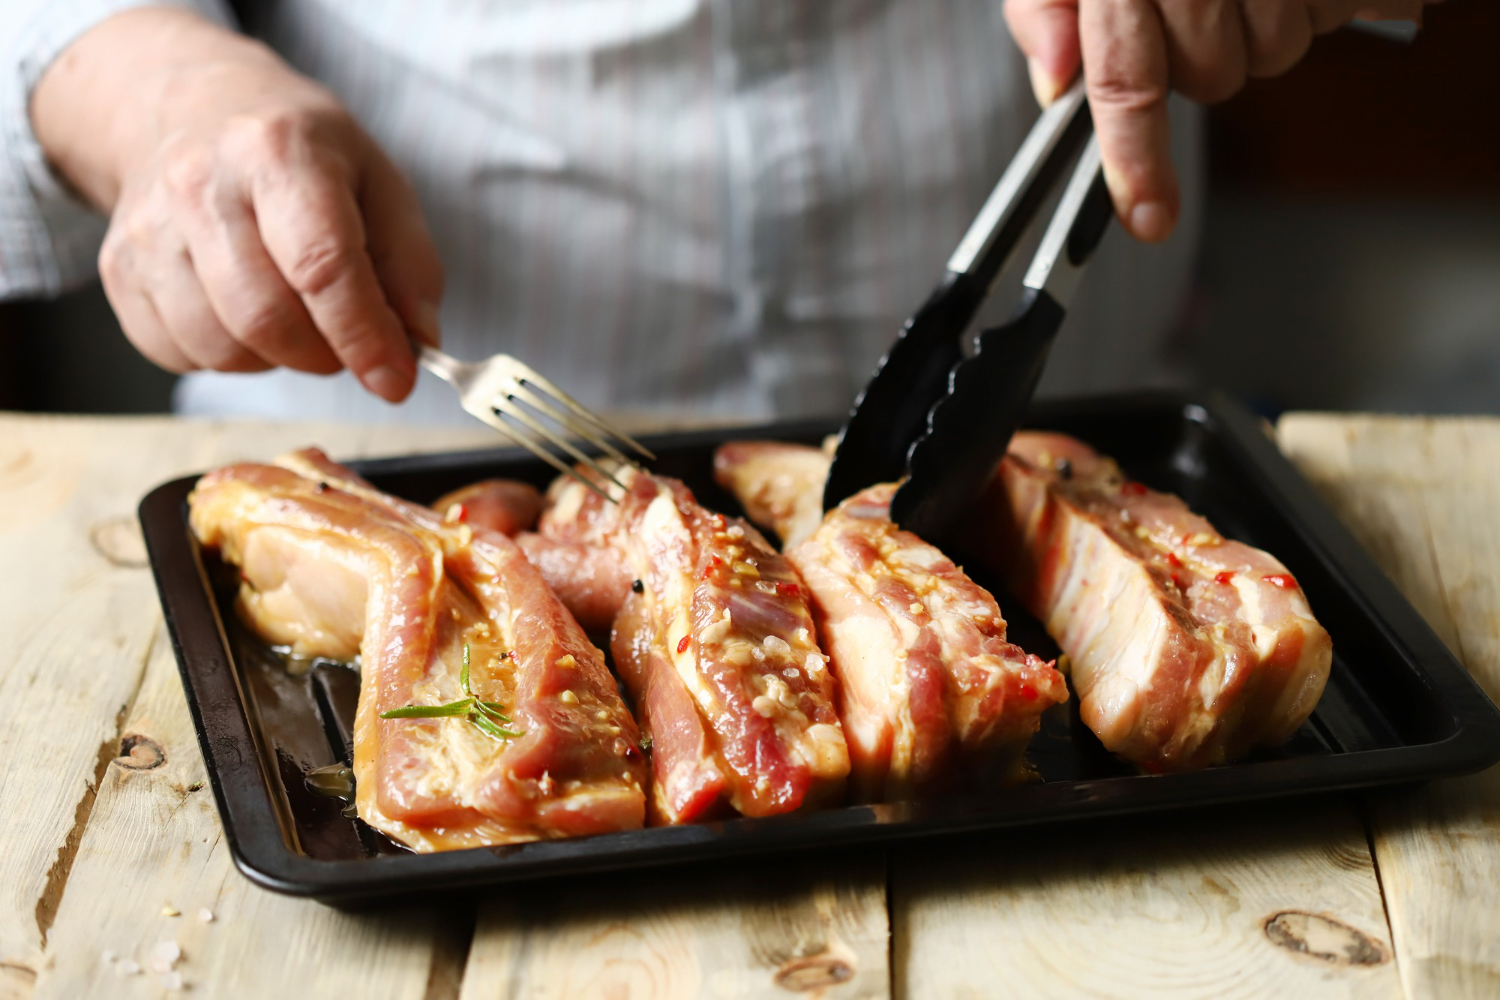
Lay the bacon slices out on the prepared baking sheet. It’s crucial to space them apart; overcrowding will lead to uneven cooking. Aim for a single layer without overlapping.
Step 4: Place in the Oven
Once your bacon is arranged, place the baking sheet in the preheated oven. Cook for 15 to 20 minutes, depending on your desired level of crispiness. Halfway through the cooking time, take a moment to check on your bacon and rearrange the slices if necessary for even cooking.
Step 5: Remove and Drain
When your bacon reaches that perfect golden brown colour, remove the baking sheet from the oven. Use tongs to transfer the bacon to a paper towel-lined plate, allowing it to drain excess grease.
Tips for Perfect Oven-Cooked Bacon
- Thickness Matters: Remember that cooking times vary for different thicknesses of bacon. Thicker slices require a bit more time, while thinner ones will cook faster.
- Cooking Times: As a general guide, expect thick-cut bacon to take around 20–25 minutes, while thinner varieties cook in about 15–20 minutes. Keep an eye on your bacon towards the end of the cooking period, as it can go from perfectly crispy to burnt quite quickly.
- Check for Desired Crispiness: Every oven is calibrated differently. The best approach is to check the bacon a couple of minutes before the expected cooking time to ensure you’re achieving your ideal doneness.
How to Serve and Enjoy Your Oven-Cooked Bacon
Serving Suggestions
The possibilities for serving bacon are endless! Here are a few classic breakfast ideas:
- Traditional Breakfast: Serve crispy bacon alongside eggs, toast, and fresh fruit.
- Breakfast Sandwiches: Layer bacon with avocado, eggs, and cheese between two slices of your favourite bread for a delicious sandwich.
- Salads: Crumble cooked bacon over salads to add a burst of flavour and crunch.
- Toppings: Use it as a topping for burgers, baked potatoes, or even pizzas for an extra layer of indulgence.
Storing Leftover Bacon
If you find yourself with leftover cooked bacon, fear not! Simply place it in an airtight container and refrigerate for up to a week. For longer storage, you can freeze your bacon for up to three months. Reheat in the oven or microwave when you’re ready to enjoy it again.
Variations to Try
Flavored Bacon
Feeling adventurous? Experiment with adding flavours to your bacon before cooking. Drizzle maple syrup or sprinkle brown sugar for a sweet twist. Alternatively, toss some cracked black pepper, cayenne, or even a little paprika for a spicy kick.
Oven-Roasted Vegetables with Bacon
If you’re a fan of roasted vegetables, why not combine the two? Toss your favourite vegetables—like Brussels sprouts or carrots—with bacon on the same baking sheet for a flavourful side dish. The rendered bacon fat will give the veggies a delicious smoky taste.
Conclusion
Cooking bacon in the oven is not just a method; it’s a game-changer for bacon lovers everywhere! With its ease and consistent results, you’ll wonder why you didn’t try it sooner.
We encourage you to give this technique a go, share your experiences, and maybe even try out some unique recipes of your own.
If you found this guide informative, be sure to share it with fellow bacon enthusiasts and consider subscribing to our blog for more delicious recipes and kitchen tips. With a community of food lovers at your side, cooking will always be a delightful adventure. Happy cooking!
FAQs
How do you know when bacon is fully cooked?
Bacon is done when it is a deep golden brown and has a crispy texture. Be cautious, as it can go from crispy to burnt quickly.
Can you cook different types of bacon together?
Yes, you can cook different types together, but be mindful of their thickness and adjust cooking times accordingly.
What to do with bacon grease after cooking?
Never throw away bacon grease! It can be saved and used for cooking other meals, adding great flavour to dishes like greens, popcorn, or frying eggs.


